The Ezviz C6T is an indoor 1080p HD, Wi-Fi camera with smart Motion tracking built for the connected home. Connect the C6T to your wireless network using the EZVIZ App. This simple App will control all of your EZVIZ devices. Once connected to the network, you can view 1080p HD video anytime from your smartphone, tablet or computer. The C6T is fully compatible with the Amazon Echo show and spot devices, as well as Google assistant and IFTTT. Name your camera and ask the voice assistant to show you the live video feed. The C6T features smart motion tracking and notifications, if it notices something move, the camera will track the movement automatically around the room. View any point in your room, with just one touch. After taking a panoramic picture, touch the image and the C6T will automatically pan and tilt towards your chosen position and stream live video. With multiple storage options, you can choose where to save your video footage.
Cameras can record to the built-In SD Card Slot, Encrypted Cloud Storage, or the EZVIZ NVR. You can even record to multiple storage options at the same time, in case a camera is damaged or your network goes down. Cloud storage includes a free one-month trial with 7-day playback; or store locally, the camera accepts up to a 128GB micro SD card. No Matter where you are, The C6T keeps you up to date with what’s happening at home or business with motion detection alerts to your smartphone or tablet. Automatically switch to night vision mode when light levels get low, as well as a 92 degrees viewing angle providing full room coverage. Talk with family and friends wherever you are. The camera comes with a built-in speaker for clear audio and a built-in omni directional mic that easily picks up voices and reduces background noise.
Setup Ezviz C6T wifi Camera step-by-step
Step 1 Power-on
Plug the power cable into the camera, and then plug the power adapter into an outlet. The LED indicator will flash red and blue when the camera is ready for setup.
LED Indicator Status
Blue Flicker: The network is properly connected.
Solid Red: The device is activating. Slow Red Flicker: Invalid network connection. Fast Red Flicker: MicroSD card or other error occurred.
Alternating Blue and Red Flicker: Camera is ready for Wi-Fi setup.
Step 2 Camera Setup
1. Create a user account (Described in video below)
- Connect your mobile phone to Wi-Fi using your 2.4GHz network.
- Search for "EZVIZ" in the App Store or Google Play (TM).
- Download and install the EZVIZ app.
- Launch the app.
- Create, and register an EZVIZ user account by following the startup wizard. (Described in video below)
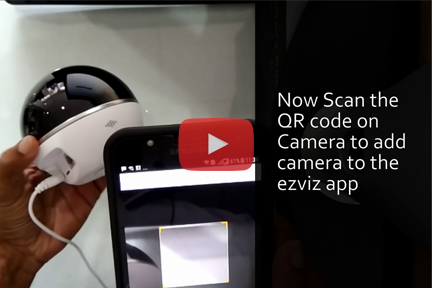
2. Adding a camera to EZVIZ (Described in video below)
- Log in to your account using the EZVIZ app.
- Tap "+" on the Home page to go to the Scan QR Code interface.
- Scan the QR Code on the bottom of the camera or the front cover of the Quick Start Guide.
- Enter the password for your Wi-Fi network.
- Select the correct time zone and DST information.
- Tap "Finish" to finish setup.
If the camera fails to connect to your Wi-Fi network, press and hold the RST button for 3s and repeat Step 2
Click below link to play the full video
